Day 23 · Git
Fork a Git Repository
Technical Overview
In Git-based collaborative workflows, a fork is a server-side copy of a repository that lives under a developer's personal namespace on a hosting platform (such as Gitea, GitHub, or GitLab).
While cloning copies a repository to a local machine, forking copies the repository directly on the remote server. This is a fundamental concept in open-source and modern DevOps practices:
- Isolation: Developers can freely push changes, create branches, and experiment without affecting the original upstream repository.
- Access Control: It allows collaboration without requiring the maintainers of the original project to grant write permissions to every contributor.
- Contribution Lifecycle: Developers push modifications to their fork and then propose merging those changes back into the original repository by creating a Pull Request (PR) or Merge Request (MR).
This guide outlines the steps to navigate the self-hosted Gitea portal, locate the target upstream repository (sarah/story-blog), perform the fork operation under the user jon, and verify the fork.
Infrastructure & Configuration Requirements
- Upstream Owner:
sarah - Upstream Repository:
story-blog(URL path:/sarah/story-blog) - Developer Account:
jon - Forked Repository Destination:
jon/story-blog(URL path:/jon/story-blog)
Step-by-Step Implementation
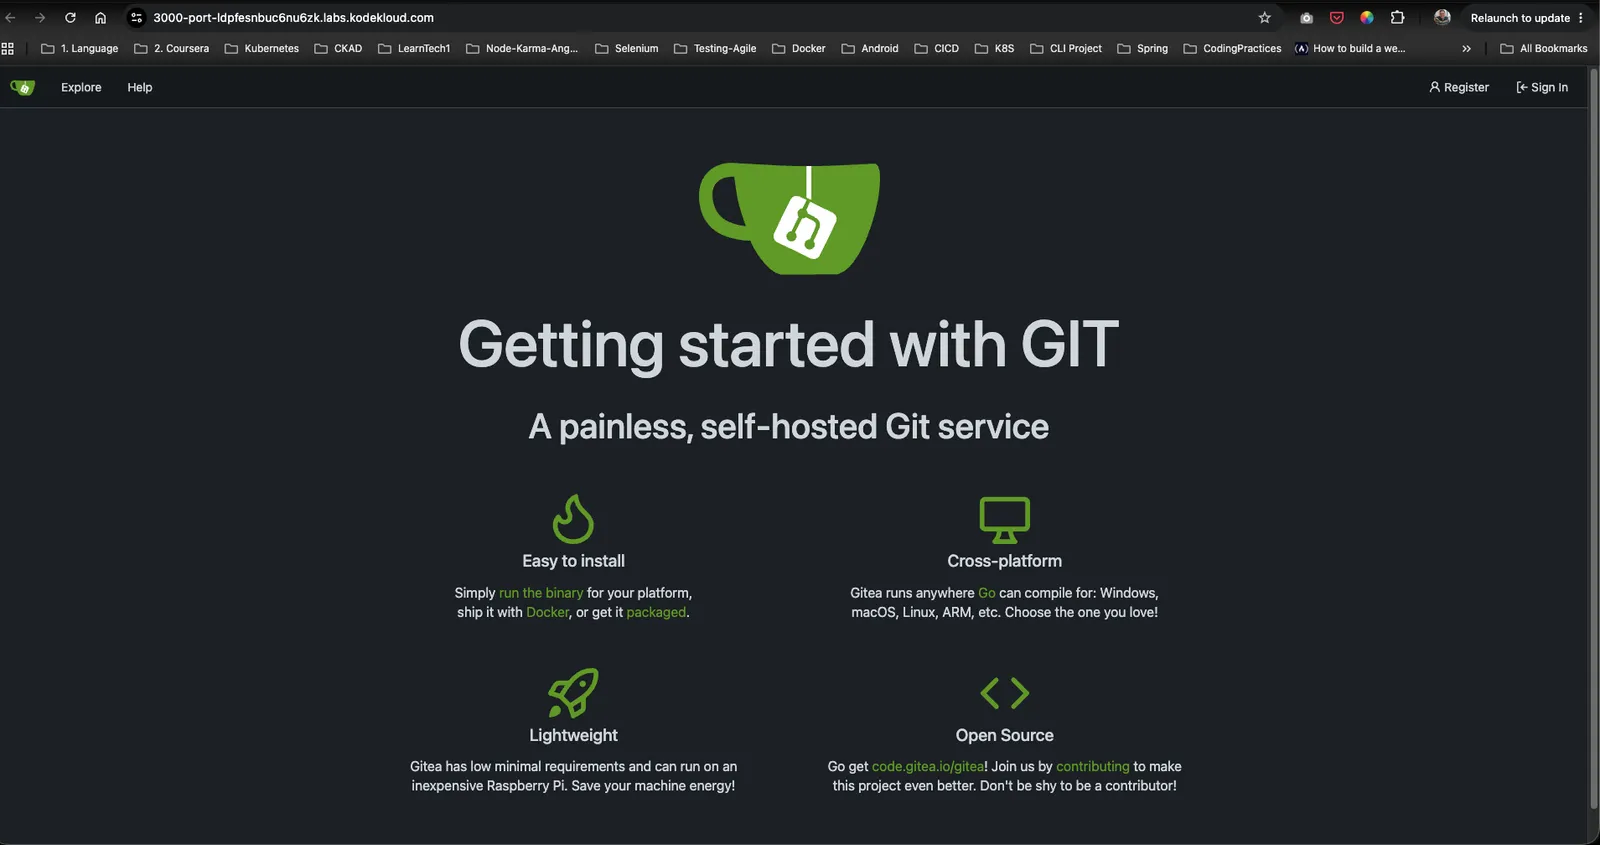
Step 1: Access the Gitea Dashboard
Access the self-hosted Gitea service through your web browser and click on Sign In in the top right corner to log in as the developer jon.
Step 2: Locate the Upstream Repository
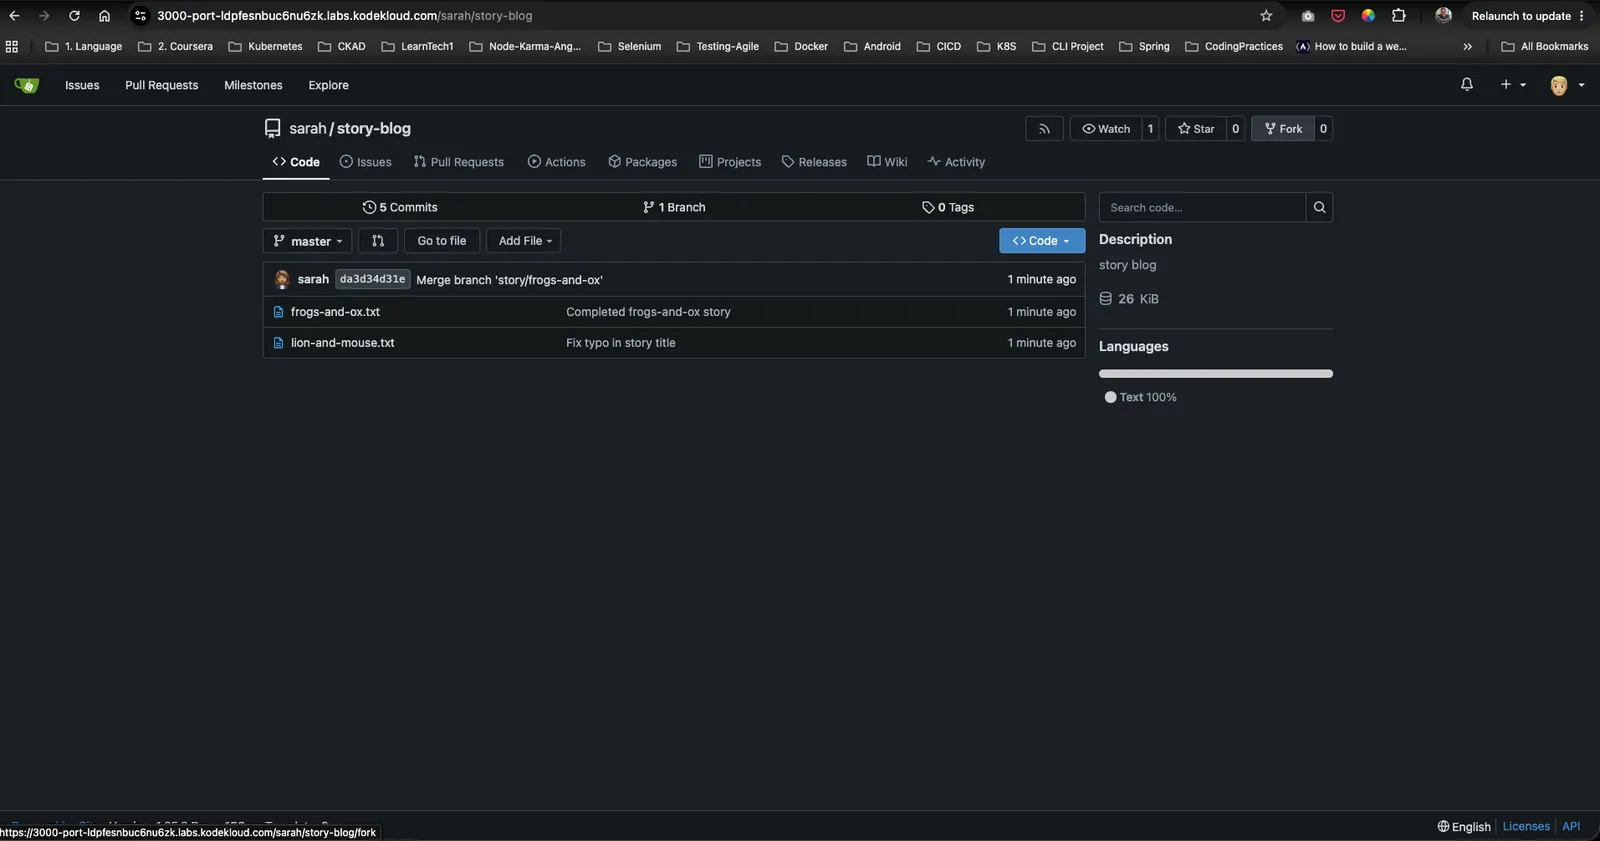
Navigate to the original repository hosted by Sarah at /sarah/story-blog. Verify that you are logged in as jon (visible via the profile icon in the top right) and locate the Fork button on the top right header of the repository view.
Step 3: Configure and Fork the Repository
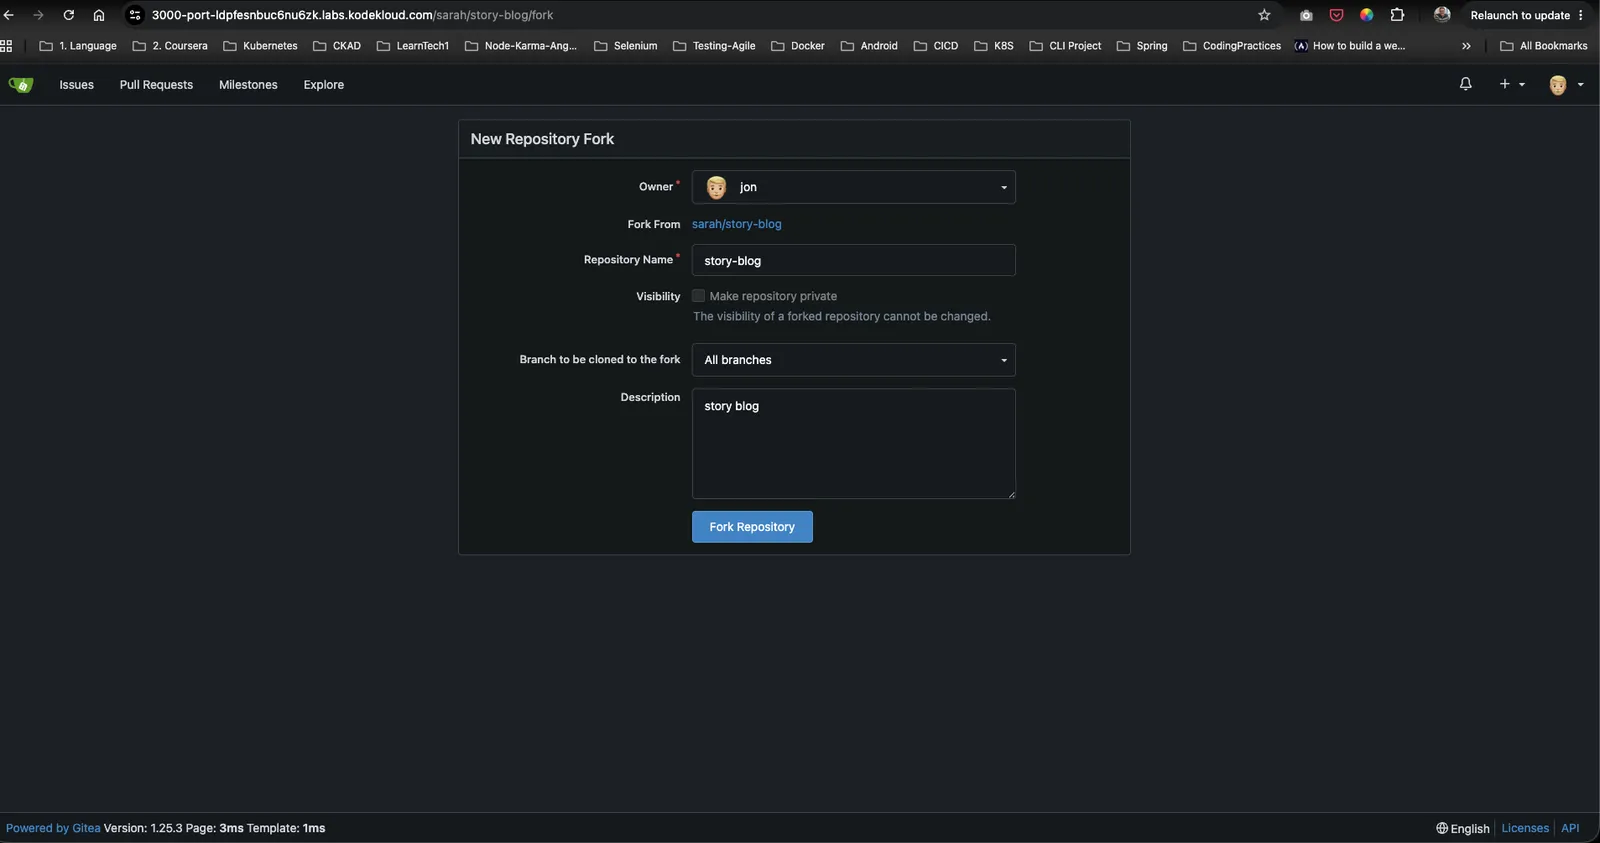
Click the Fork button. This opens the New Repository Fork page where you configure the destination:
- Owner: Select
jonas the destination namespace. - Repository Name: Keep the original name
story-blog. - Branch to clone: Select
All branches(or custom branches if specified). - Description: Add or modify the description.
Click Fork Repository to run the server-side copy operation.
Step 4: Verify the Forked Repository
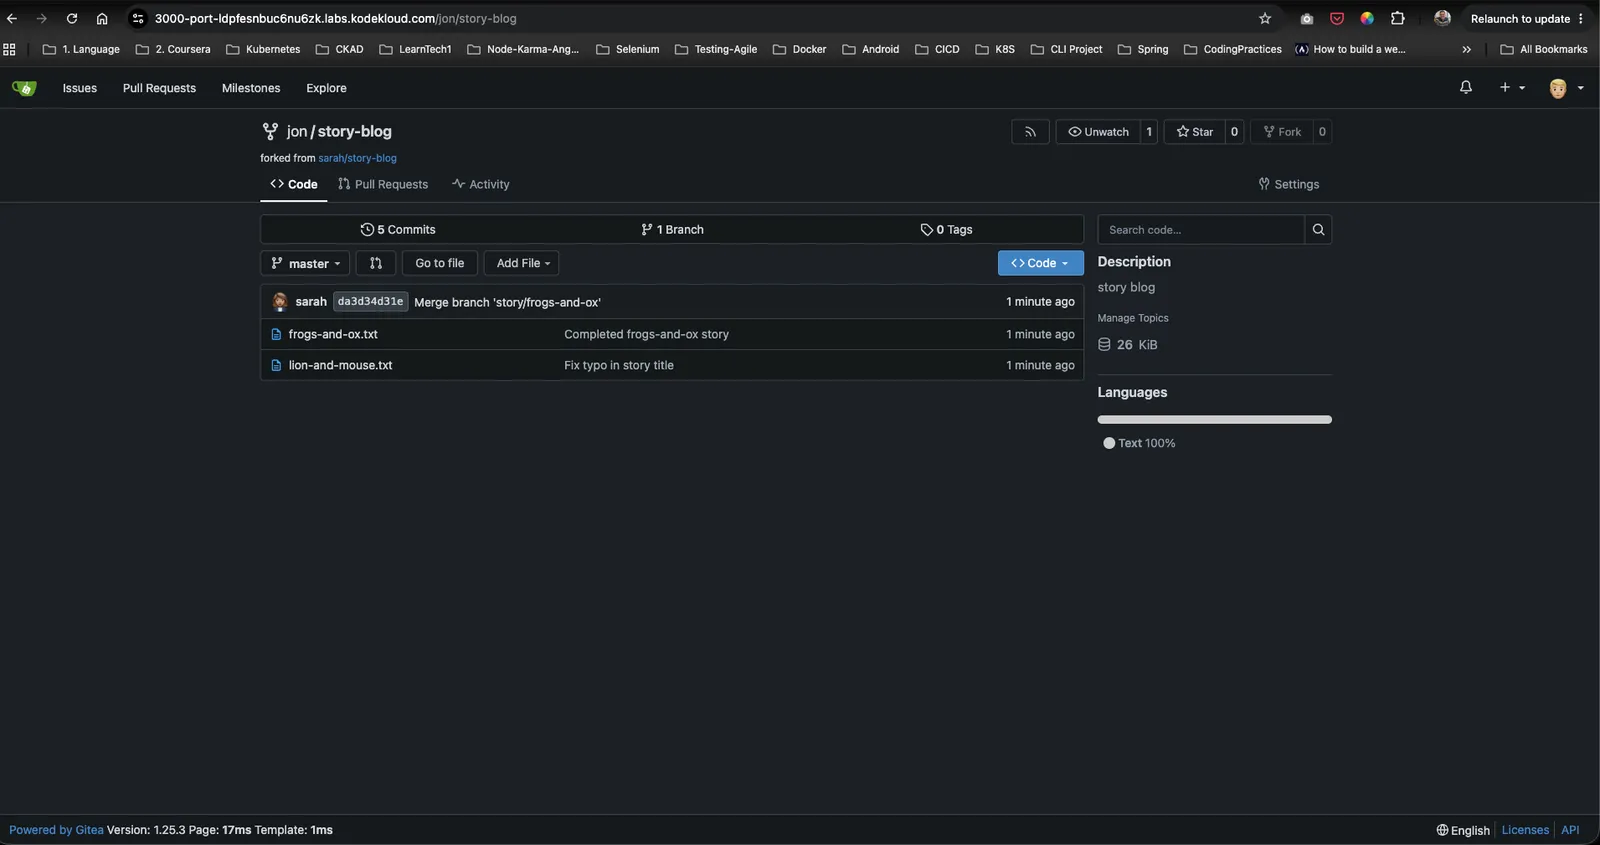
Once the forking process completes, Gitea redirects you to your new personal repository page at /jon/story-blog.
Confirm that:
- The repository title displays
jon / story-blog. - The subtitle shows
forked from sarah/story-blog, which acts as a permanent reference back to the original upstream project. - The Settings tab is available, indicating you now have full admin write access to this fork.
Post-Deployment Verification
With the fork successfully created, you can now clone the repository locally using your personal developer credentials:
git clone http://3000-port-ldpfesnbuc6nu6zk.labs.kodekloud.com/jon/story-blog.git
You can safely commit modifications and push back to your fork at /jon/story-blog.